Showing posts with label Macarons. Show all posts

Thursday, September 16, 2010

Pretty in Pink Raspberry Macarons


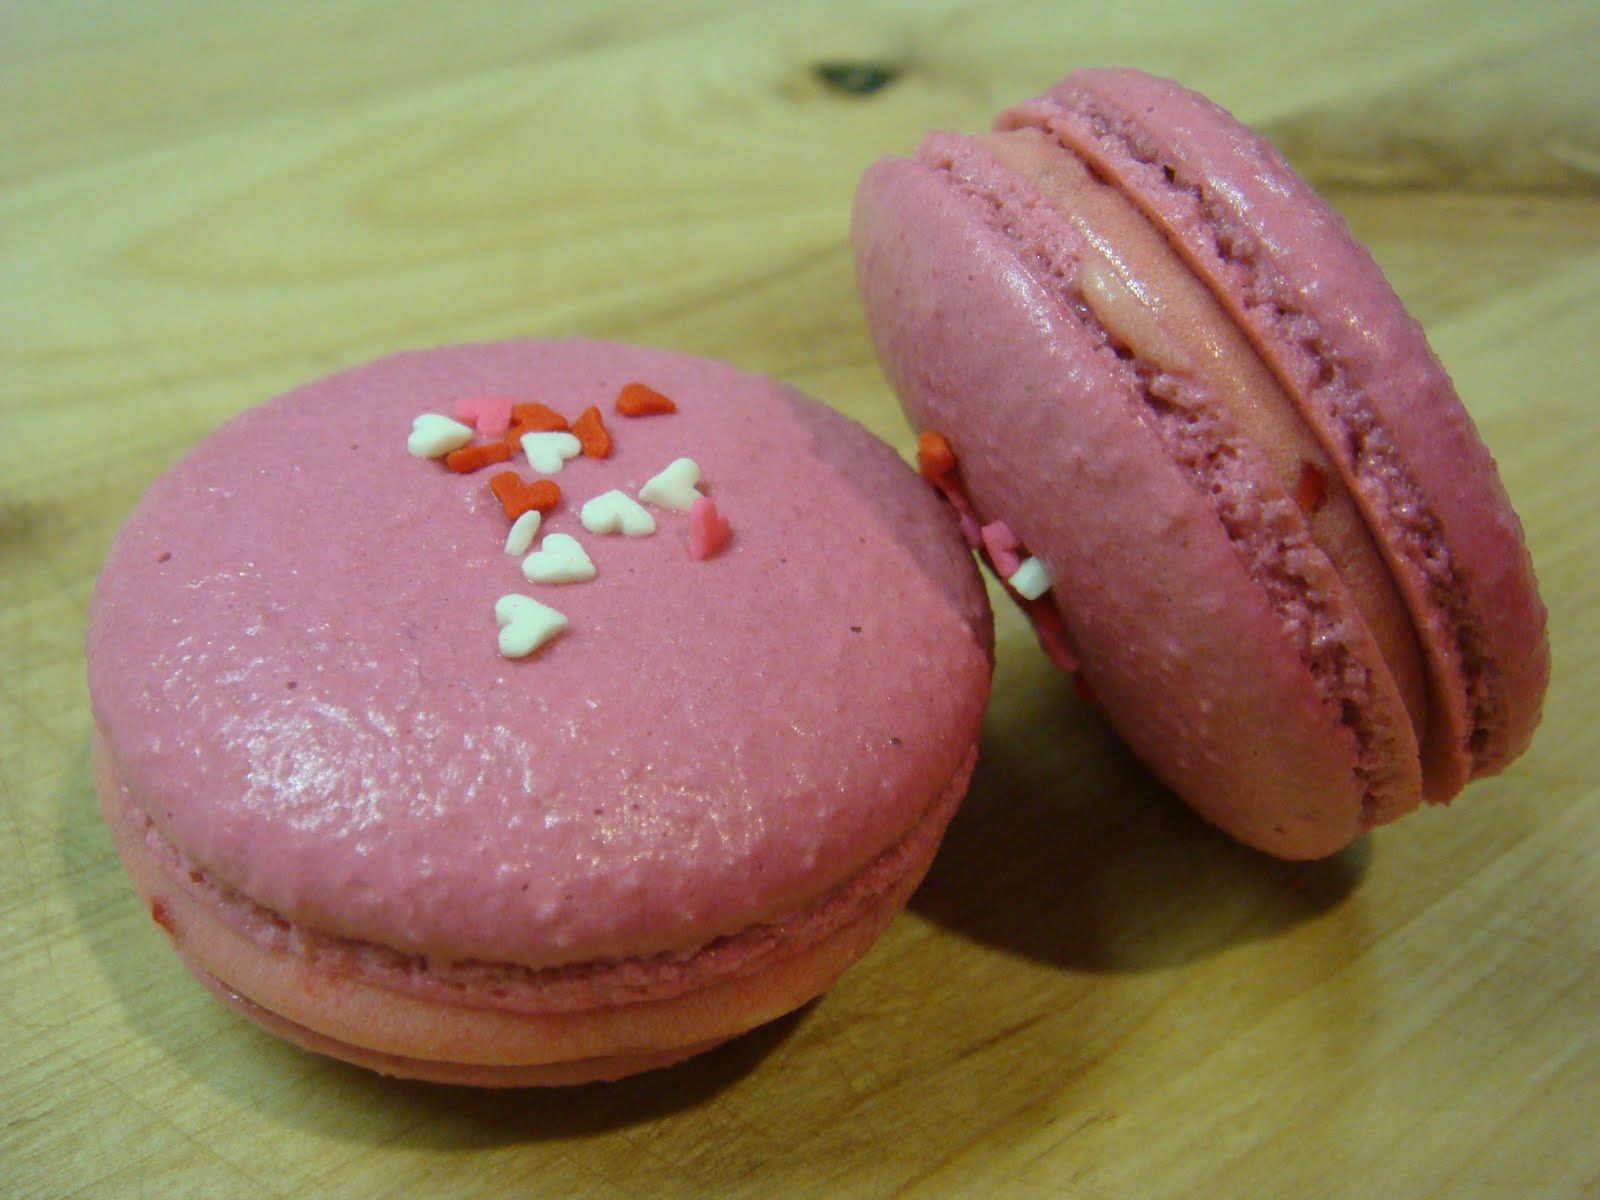
I'm reduxing raspberry macarons just because they're so yummy. Instead of two-toned shells, It's pretty-in-pink with lots of heart-shaped sprinkles.

Use 2 - 3 drops of red food colouring, and don't forget the sprinkles!
Perfect feet and smooth shiny tops.
Smooth creamy raspberry buttercream
Assembled and ready to eat

Citron Vanilla Macarons


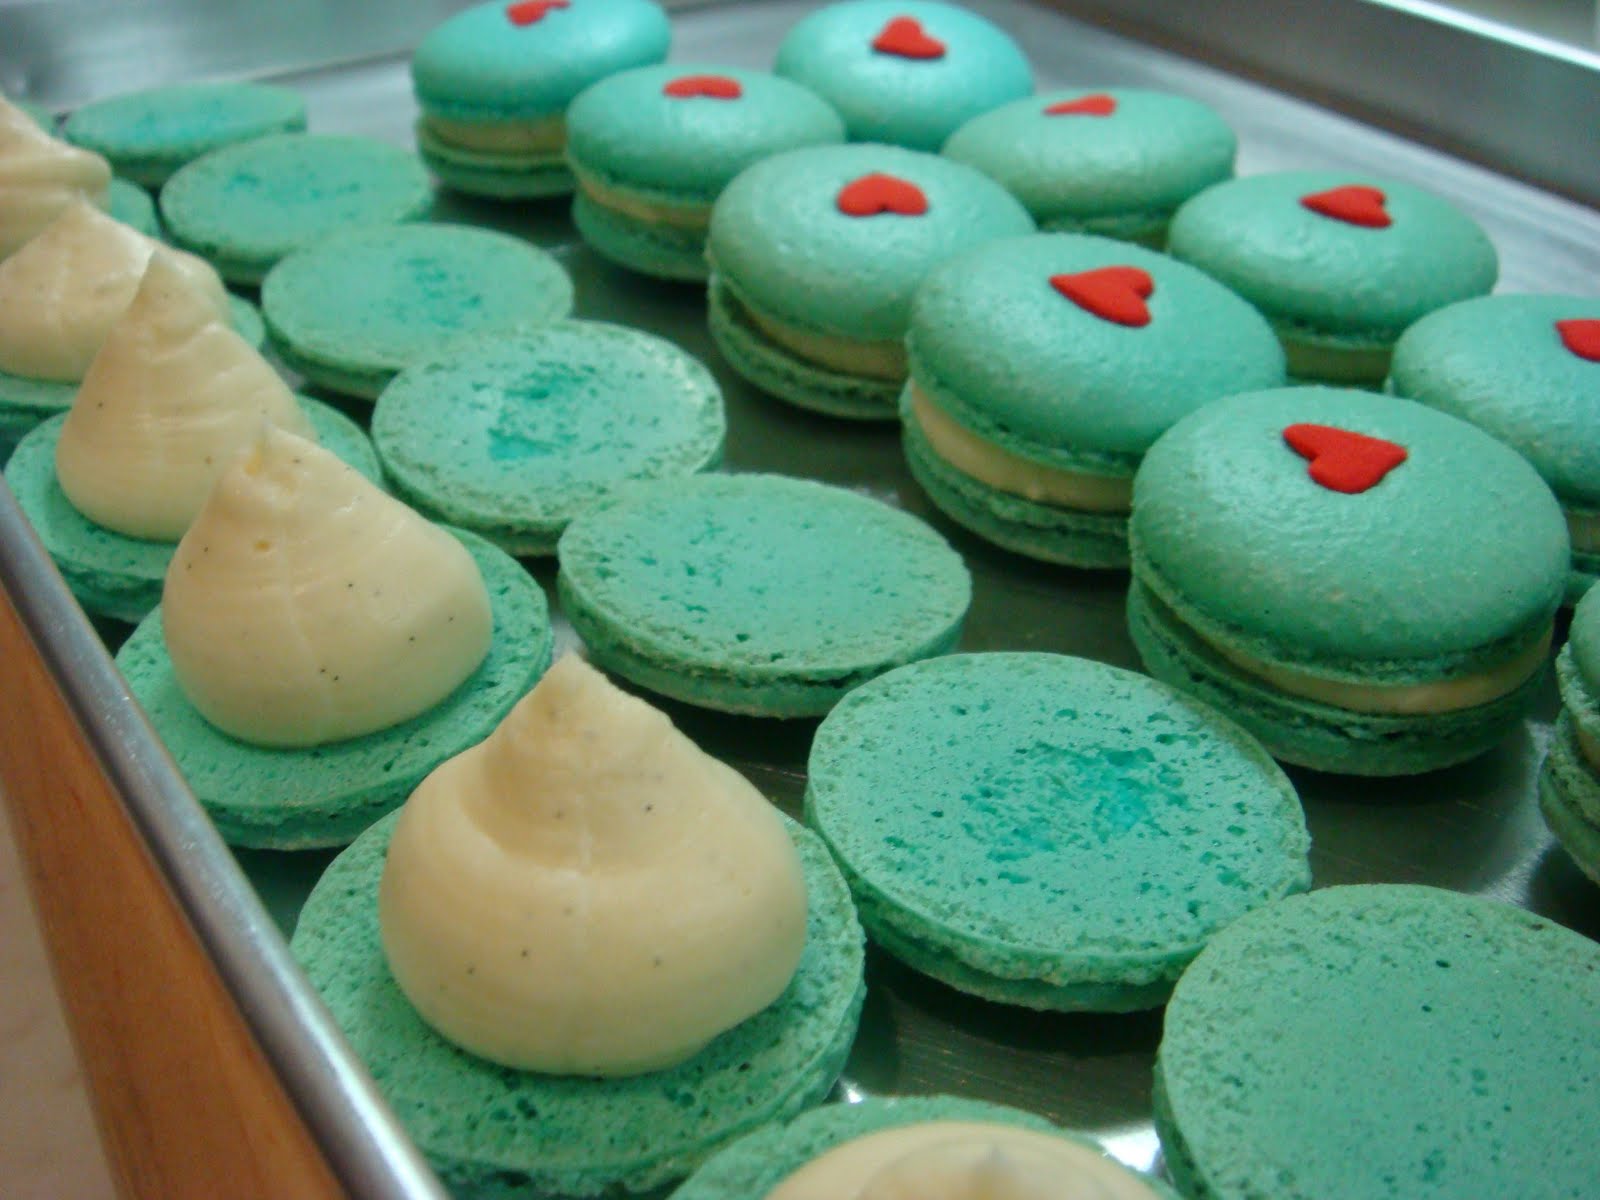
Just in the mood for prettiness today. I'm not going to mess around with new flavours so I'll split the batch and make classic citron vanilla in a Tiffany's shade of blue with white buttercream. With the other half, I'll redux pretty-in-pink raspberry macarons.

Macaron shells:
  • 65g almond meal
  • 80g icing sugar
  • 40g caster sugar
  • 50g egg whites, aged
  • 1/2 teaspoon lemon oil
  • 3 drops sky blue food colouring

Preheat oven to 160C and prepare 2 baking trays lined with silicon sheets.

Sift almond flour and icing sugar in a bowl. Beat room temperature egg whites and caster sugar till stiff peaks form. Add dry ingredients to meringue and mix well until batter is smooth and thick. Add the lemon oil and tint the batter a pastel shade of blue.

From Tiffany's with love
Spoon the batter into a piping bag/gun with a 1/2-inch nozzle and pipe evenly onto the baking trays in 3cm globs, spaced about 4cm apart (the piped batter will spread about 1 cm). Scatter sprinkles of your choice (or none at all) and let the piped batter dry till the skin forms. Bake for 12 minutes.


Buttercream filling:
  • 100g butter, softened to room temperature
  • 150g icing sugar, sifted
  • 2 teaspoons vanilla bean paste

Beat butter till nice and smooth, then add icing sugar and vanilla paste and beat till light and creamy. Spoon into an icing bag and chill for 15 minutes in the fridge.


Pipe a hershey kiss-sized gob onto each shell and sandwich with another. Let sit in refrigerator overnight and warm up to room temperature before eating.

Wednesday, September 15, 2010

After Eights Macarons


Inspired by those thin mint choclates, I'm undecided about whether I'm eating macarons or toothpaste. Some folks love them, some hate them. I guess it all depends on how much you like mint.

A little unconventional as far as macaron flavours go, but what the heck. I like them. They're cute and pretty, and I can skip brushing my teeth afterwards.

I'll be doing the short version here, so for detailed step-by-step instructions and pictures of macaron technique, click here.

Macaron shells:

  • 65g almond meal
  • 80g icing sugar
  • 40g caster sugar
  • 50g egg whites, aged
  • 3 drops green food colouring
  • Green metallic sugar sprinkles

Preheat oven to 160C and prepare 3 baking trays lined with silicon sheets.

Sift almond flour and icing sugar in a bowl. Beat room temperature egg whites and caster sugar till stiff peaks form. Add dry ingredients to meringue and mix well until batter is smooth and thick. Tint the batter a pastel shade of green.

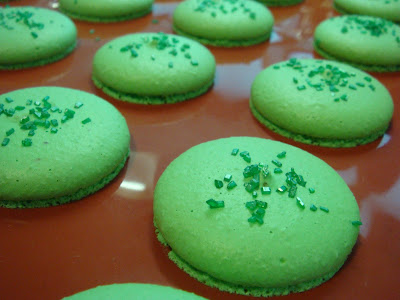
I love those sprinkles.
Spoon the batter into a piping bag/gun with a 1/2-inch nozzle and pipe evenly onto the baking trays in 3cm globs, spaced about 4cm apart (the piped batter will spread about 1 cm). Scatter metallic green sprinkles and let the piped batter dry till the skin forms. Bake for 12 minutes.

Aren't those feet so pretty?
Mint chocolate ganache:

  • 85g fine-quality bittersweet chocolate (60% cacao or more), finely chopped if not using buttons
  • 1/3 cup heavy cream
  • 1 tablespoon unsalted butter, softened
  • 1/2 teaspoon mint extract

Melt chocolate with cream and butter in a metal bowl set over a pan of lightly simmering water (bowl should not touch the water), stirring until smooth.

Remove bowl from heat and let cool a little, then add mint extract and stir well. Let stand at room temperature until cooled completely, spoon into a piping bag and chill for an hour till firm.


Pipe a dollop of ganache onto one side of each shell, the size of a Hershey's Kiss. Gently press down to sandwich the two sides together. Let sit in refrigerator overnight and warm up to room temperature before eating.

Thursday, August 12, 2010

Raspberry Macarons with a Buttercream Filling


Weekends are great macaron making days. Laid-back, relaxed and stress-free. I love taking my time with them, the repetitive motions are super therapeutic and soothing.

This a a classic macaron flavour, with a fresh raspberry twist in the filling and two-toned shells. So patriotic and pretty!

I'll be doing the short version here, so for detailed step-by-step instructions and pictures of macaron technique, click here.

Macaron shells:
  • 65g almond meal
  • 80g icing sugar
  • 40g caster sugar
  • 50g egg whites, aged
  • 5 drops red food colouring

Buttercream filling:
  • 100g butter, softened to room temperature
  • 150g icing sugar, sifted
  • 10 fresh raspberries

Preheat oven to 160C and prepare 3 baking trays lined with silicon sheets.

Sift almond flour and icing sugar in a bowl. Beat room temperature egg whites and caster sugar till stiff peaks form. Add dry ingredients to meringue and mix well until batter is smooth and thick.

Divide batter into two bowls and tint one half with food colouring for a bright vibrant red. Leave the other half white.

Spoon the batter into a piping bag/gun with a 1/2-inch nozzle and pipe evenly onto the baking trays in 3cm globs, spaced about 4cm apart (the piped batter will spread about 1 cm). Let the piped batter dry till the skin forms and bake for 12 minutes.


To make the icing, beat butter till nice and smooth, then add icing sugar and beat till light and creamy. Add the raspberries and continue beating at high speed till the mixture is nice and smooth. Spoon into an icing bag and chill for 15 minutes in the fridge.

Pipe a hershey kiss-sized gob onto a white shell and sandwich with a red shell. Let sit in refrigerator overnight and warm up to room temperature before eating.

Other items on the Red, White and Ooohhh menu:

Tuesday, June 29, 2010

Raspberry Chocolate Macarons


Alright, here's the big kahuna, the Mount Everest of baking. The delicious and dreaded macaron.

This is a tried, tested and proven recipe. Pierre Hermes and Laduree, you ain't got nuthin' on me. You may rule Paris, but I got tropical weather macarons down pat. I've tried the Canele ones, and I must say, mine are just as good, if not better (can you see my head growing bigger?). Ok, ok... maybe not better but I definitely give them a run for their money. Not bad for an amateur baker with a 2m x 2m kitchen.

First, the essential must-haves:
  • Weighing scale
  • Silicon baking sheets (Silpat) or non-stick baking paper sheets
  • Baking trays
  • Mixer or wire whisk (I don't recommend whisking the meringue by hand. It is literally too painful.)
  • Metal mixing bowls
  • Spatula (plastic or rubber)
  • Sieve
  • Large piping bag with 1/2-inch round nozzle 
  • Oven thermometer (if you don't have a digital oven)

Next, the  ingredients:
  • Egg whites - aged in the refrigerator for at least 24 hours, 48 is ideal
  • Finely ground almond powder - also called almond flour
  • Icing sugar
  • Castor sugar - the finest grain sugar available
  • 1/4 teaspoon of  cream of tartar


 Then, the basic ratios based on 1 unit of egg white of 50g:
  • 1.3 almond meal x 50g egg white (1.3 x 50g = 65g almond meal)
  • 1.6 icing sugar  x 50g egg white (1.6 x 50g = 80g icing sugar)
  • 0.8 caster sugar x 50g egg white (0.8 x 50g = 40g caster sugar)
  • Egg white 50 gm
  • Total weight of ingredients = 235g

Preheat your oven to 160C.

Here's an important note: An oven that's too hot will cause the tops of the macaron shells to crack. If you're experiencing that problem, turn down the heat to about 150C. If you're making mini-sized petit four macarons (about 2cm in diameter or less), set the temperature at 140C.

Stack two or three heavy baking trays. Line the top tray with non-stick baking paper or silicon baking sheets. If you're not adept with piping, mark the paper with 3cm circles, spaced about 4cm apart.

Sift the icing sugar and almond meal into a bowl to remove lumps of powder. Set aside.

In a clean bowl, beat the room-temperature egg whites, cream of tartar and sugar until stiff peaks form and you have a firm, glossy and compact meringue. You'll know you have the right consistency when the peak of the meringue stands up by itself, like in the image below. If it flops over, it's known as soft peak and not done yet.


Sift the dry mixture over the meringue and fold in with a spatula using a circular motion around the bowl, scraping under the batter and folding it over. You don't need to be gentle, but don't beat the crap out of it either. The whole point is to mix in the dry ingredients quickly without over mixing the batter. It's better to under mix than over mix, because you can mix it more later if the consistency isn't right. Add colourings or flavourings at this point.


A quick note of colours and flavours. Use powder or concentrated gel colourings as it doesn't add more moisture to the batter. You didn't go through all that trouble to dry your egg whites just to put liquid back in. On flavours, use natural extracts rather than the artificial stuff. If you don't have the natural stuff, then it's better to leave it au naturel.

The final batter should be smooth and thick but flowing (often referred to as being "like magma", but like as if we've ever seen lava flowing out of a volcano before. Duh...). Basically, a ribbon of batter dropped from the spatula to the top of the batter should take about 30 seconds to disappear.


Spoon the batter into a piping bag/gun with a 1/2-inch nozzle and pipe evenly onto the baking paper/ silicon sheet in 3cm globs, spaced about 4cm apart (the piped batter will spread about 1 cm).


You'll get little peaks after piping like in the picture below. Mild peaks should settle back into the batter eventually. If they don't disappear, whack the tray repeatedly on a table until the peaks disappear. Usually the batter will spread a little and any bumps will disappear.


Let the piped batter dry so that a "skin" forms on the top  of each macaron. This can take from anywhere from 20 minutes to never in our humid weather, so have a hairdryer on standby. This post will explain why the skin is necessary and the hairdryer (yes, I know it's weird, but it works).


Bake the macarons tray by tray on the centre rack.

At the 5 minute mark the shells should have lifted and developed "feet". At the 6-7 minute mark they should be starting to colour just slightly. Rotate the baking tray if the colouring is uneven. Bake for 12 minutes in total.


Stand back and admire those pretty little feet. Yes, you're gorgeous... Yes you are!

If you are using a silicon baking sheet, allow to cool completely before removing the shells. If they stick to the sheet, place them in the freezer for awhile to help with the sticking problem.

If you're using paper, spritz a little water from a spray bottle under the paper while still hot. The steam created will help release the shells from the paper.

Lay the cooled macaron shells face up and match them according to size (this is where the anal-retentive part of me is really enjoying herself).


For the raspberry ganache filling, you will need:
  • 85g fine-quality bittersweet chocolate (60% cacao or more), finely chopped if not using buttons
  • 1/3 cup heavy cream
  • 1 tablespoon unsalted butter, softened
  • 1/2 teaspoon raspberry extract


Melt chocolate with cream and butter in a metal bowl set over a pan of lightly simmering water (bowl should not touch the water), stirring until smooth.


Remove bowl from heat, then add raspberry extract. Let stand at room temperature until cooled completely, spoon into a piping bag and chill for 20 minutes till firm.

Now you're almost at the home stretch and ready to assemble the macarons.

Pipe a dollop of ganache onto one side of each shell, the size of a Hershey's Kiss. Gently press down to sandwich the two sides together.


Haha... I lied. You're not at the home stretch yet.

Macarons taste best when refrigerated and eaten the next day. The process of chilling in the fridge and warming back up to room temperature allows the moisture from the filling to meld with and soften the inside of the shells to create that unmistakable crisp outside and chewy soft inside.


Be patient and wait. It will be worth it. Oh yes it will.

Monday, June 28, 2010

Macaron madness

Tomorrow I will make macarons. They're tough little sonafabitches to make, and it took me 4 weeks of devastating, ego-destroying failure to get them right. In the meantime, the entire office suffered batch upon batch of wonky macarons. Tough shit.

It's just that there are so many variables that determine whether they come out right, and it took a scientific approach to figure out what variable did what. Humidity, heat, technique... screw up one of them and your batch is f*cked.

But it all boils down to 4 simple things:
  1. Precision - Measure everything down to the last gram. If you don't have a digital scale, invest in one. $50 will save you mucho frustration and pain.
  2. Aged egg whites - This means leaving the egg whites in the fridge for at least 24 hours, if not more. This removes the moisture.
  3. Oven temperature - Unless you have a newfangled digital oven, the internal temperature of ovens aren't usually the same as indicated on the dial. Get an oven thermometer so you know exactly what the temperature is on the inside.
  4. Hairdryer - This one needs a bit of explaining....
After piping the batter, a dry "skin" needs to form on top of the macaron before it's baked. This causes the batter to be forced out from UNDER the macaron as it rises. This lifts up the shell, and creates a "ruffle" at the base, known as "feet". It also keeps the tops of the shells smooth and uncracked.

In our humid weather, the skin may have difficulty forming, even in an air-conditioned room. Batch after batch, I waited hours upon hours for those evil things to dry but no cigar.

Here's where the hairdryer comes in to make sure it happens (or at least speed it up). Set on cool and blast those suckers dry. Perfect macaron guaranteed every time.

This whole macaron journey is kind of like a metaphor for life. Nothing in life comes easy, but you stick with it and somehow, some way (albeit weird), you'll figure it out. Either that or when you're a Type A anal-retentive perfectionist, you'll torture everyone around you until you get things done the way you want.

Who'd have thunk the secret to tropical weather macarons is a hairdryer? Stranger things have happened.